Monday, 26 January 2015

Technical Week 2: 50's, 60's and 70's Hairstyles


We see many influences from the ears of the 50's, 60's and 70's in todays fashion, hair and make-up styles, as fashions are always recycled but created with a new twist each time. In the 50's, barrel curls and strong side partings were popular amongst women, whilst the 'teddy boy' hairstyle as popular amongst men, and is often used as a style for women with shorter hair nowadays. The 60's style was  very volumised with a lot of bouffant at the crown of the hair. The 70's hair was also quite volumised with flicks and centre partings also being common features.    
  
You will need: 
  • Dry shampoo 
  • Curling tongs 
  • Paddle brush 
  • Pintail comb 
  • Hairspray 
  • Kirby grips and pins 
Method:  
  • 2nd day washed hair is easier to work with but if hair is freshly washed add dry shampoo to the roots and brush through well. 
  • Section hair off according to the style you want to create. 
  • Start at the top of the head and curl hair down towards the root vertically to crate lift. 
  • When removing the curling tongs from the hair try and keep the curl in tact and pin into place to set. 
  • Continue this process around the crown area of the head and then continue to curl the rest of the hair but don't pin into place. 
  • Remove all the pinned curls and brush them through with a paddle brush making sure the hair is being brushed between a flat hand and the brush to avoid static hair. 
  • Backcomb at the root taking care when doing so so that you don't knot the models hair. 
  • Smooth over the top of the back combed area either with a brush or with a piece of un-backcombed hair bought over the top of the backcombed area. 
  • Grip into place where required. 
  • Finish with hairspray. 


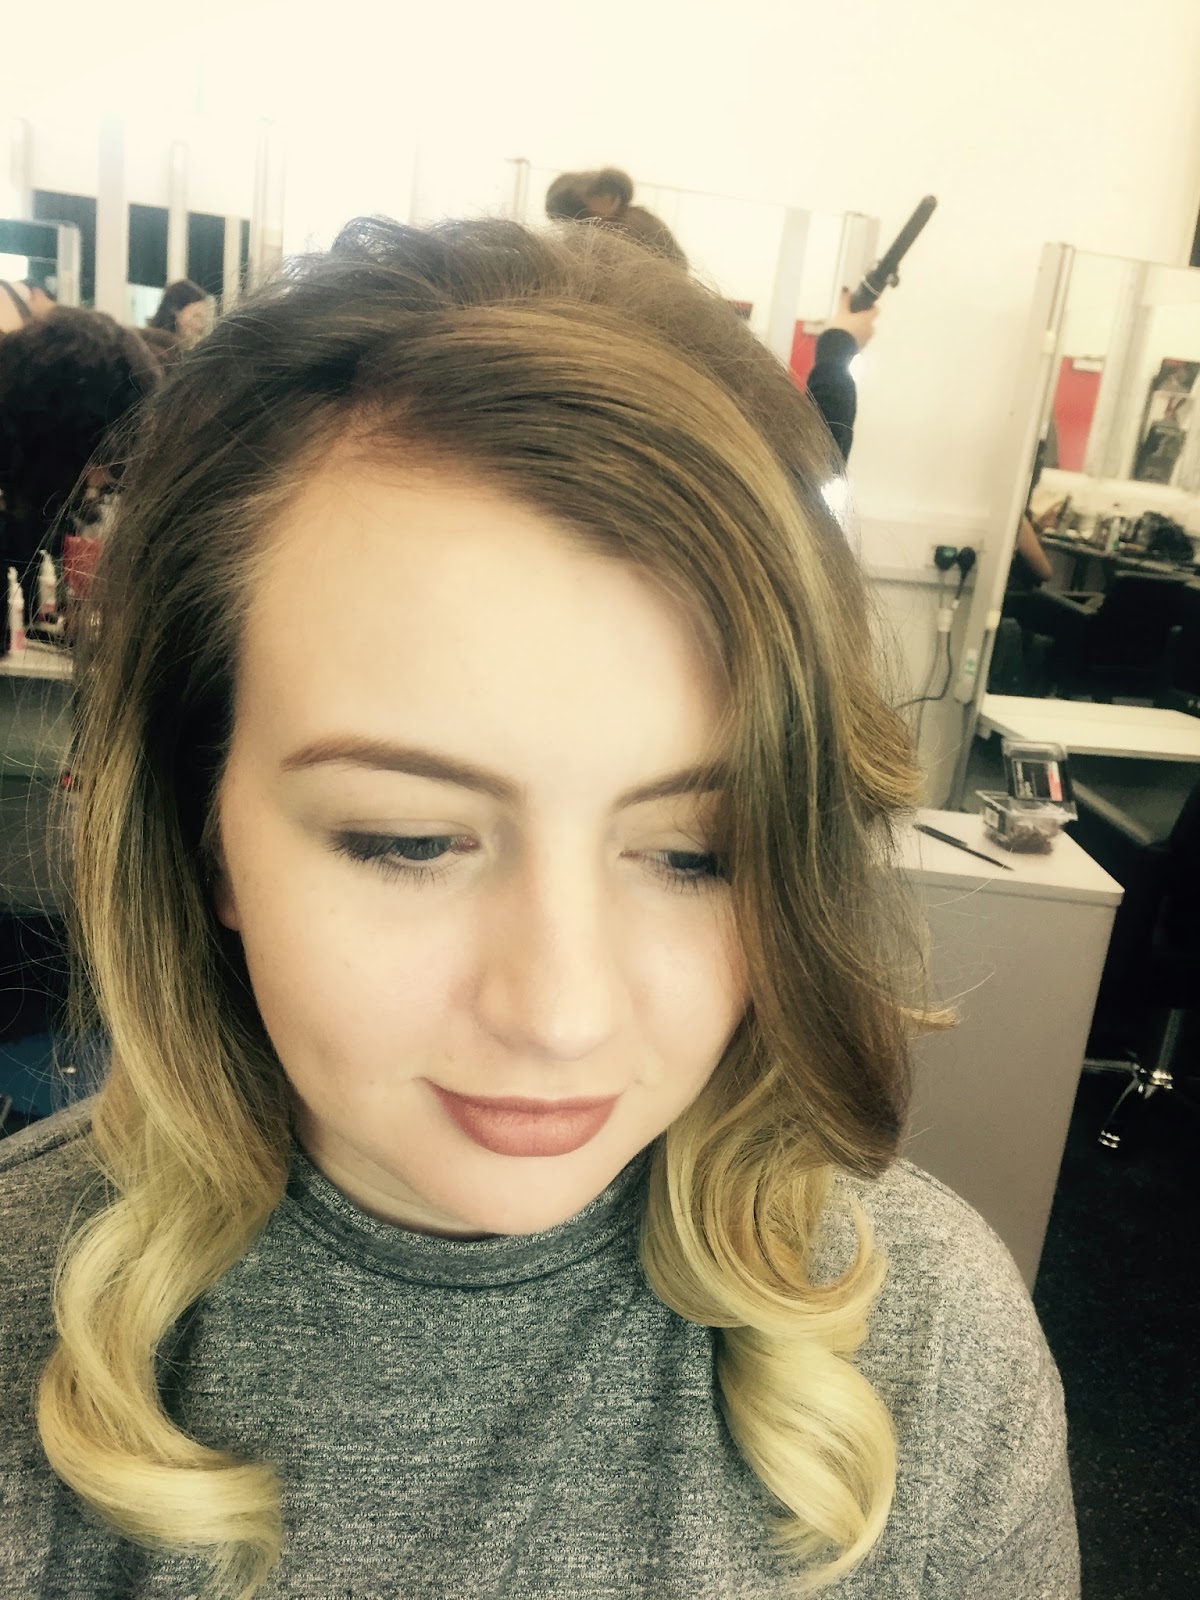
Here, I have created a 60's style half updo. I was not that happy with it, as I feel I should have backcombed the top section more to achieve more volume, and the section of hair at the front was too thick. I also should have brushed the curls out for a more authentic and sleek look. 


Here I decided to make the style a loose style, but I kept some of the shape of my first style and brushed out the curls to give a more smooth and finished look. I was happier with this style although I should have still back combed the root more to add in more volume to make it look more 60's. 


Thursday, 22 January 2015

Technical Week 1: Volumising Blow Dry


You will need: 

  • Moose 
  • Hairdryer with nozzle
  • Round barrel brush 
  • Curling tongs 
Method: 

  • Hair should be damp but not wet to start the blow dry from. 
  • Put a small amount of moose into the roots of the hair, especially when creating the blow dry on finer hair to help create lift. 
  • Use a hairdryer with a nozzle on the end. 
  • Work with the round barrel ceramic brush. 
  • Section off the hair and start with the underneath section. 
  • Place the brush under the section of hair and lift vertically. 
  • Dry under the root and then on top of the root, maintaining the lift until the root of the hair is dry. 
  • Then dry the ends of the hair, still lifting the hair to maintain the volume. 
  • Start at the back, then side side for each layer. 
  • Can crimp at the root to create more volume, but make sure the crimp is well hidden. 
  • To finish off, curl the ends of the hair loosely with tongs and brush out smoothly to create volume throughout the style. Can also backcomb at the root for added lift. 

Wednesday, 21 January 2015

Technical Week 1: Matte vs. Dewy Skin


You will need: 

  • Cleanser 
  • Toner 
  • Moisturiser 
  • Primers 
  • Foundation  
  • Concealer
  • Powder 
  • Variety of make-up brushes 
Dewy Skin- Method: 

  • Prep skin thoroughly with cleanser and toner. 
  • Moisturise thoroughly. 
  • Choose a satin primer and add a small amount of satin finish foundation to it and mix on the back of your hand. 
  • Apply evenly to the face and buff into the skin well. 
  • Add concealer to any necessary areas of the skin. 
  • Can adda highlighter along cheekbones, down nose and across the forehead to add to the 'dewy' effect. 
  • Skin should look fresh and clean. The make-up base should not be heavy.  

Matte Skin- Method: 

  • Prep skin as before but use a littleness moisturiser. 
  • Mix a matte primer with a matte finish foundation, with more foundation than primer, and apply. 
  • Buff into skin well and add concealer in any necessary areas. 
  • Powder well, pressing it in to the skin for an extra matte look.